

BLOG ARTICLES - 60 YARNS NORTH
Beginner
What is a row in knitting and how do you count the rows?
A row in knitting is when you knit all the stitches from start to finish, whether you are knitting back and forth or in the round on circular needles.
If you knit back and forth, it is easy to know when the row is finished, but if you knit in the round on circular needles, it is easier to keep track of the beginning of the row if you place a marker between the first and last stitch.
To show and talk a little about rows in knitting, I think we will start with a stockinette swatch that is knitted back and forth.
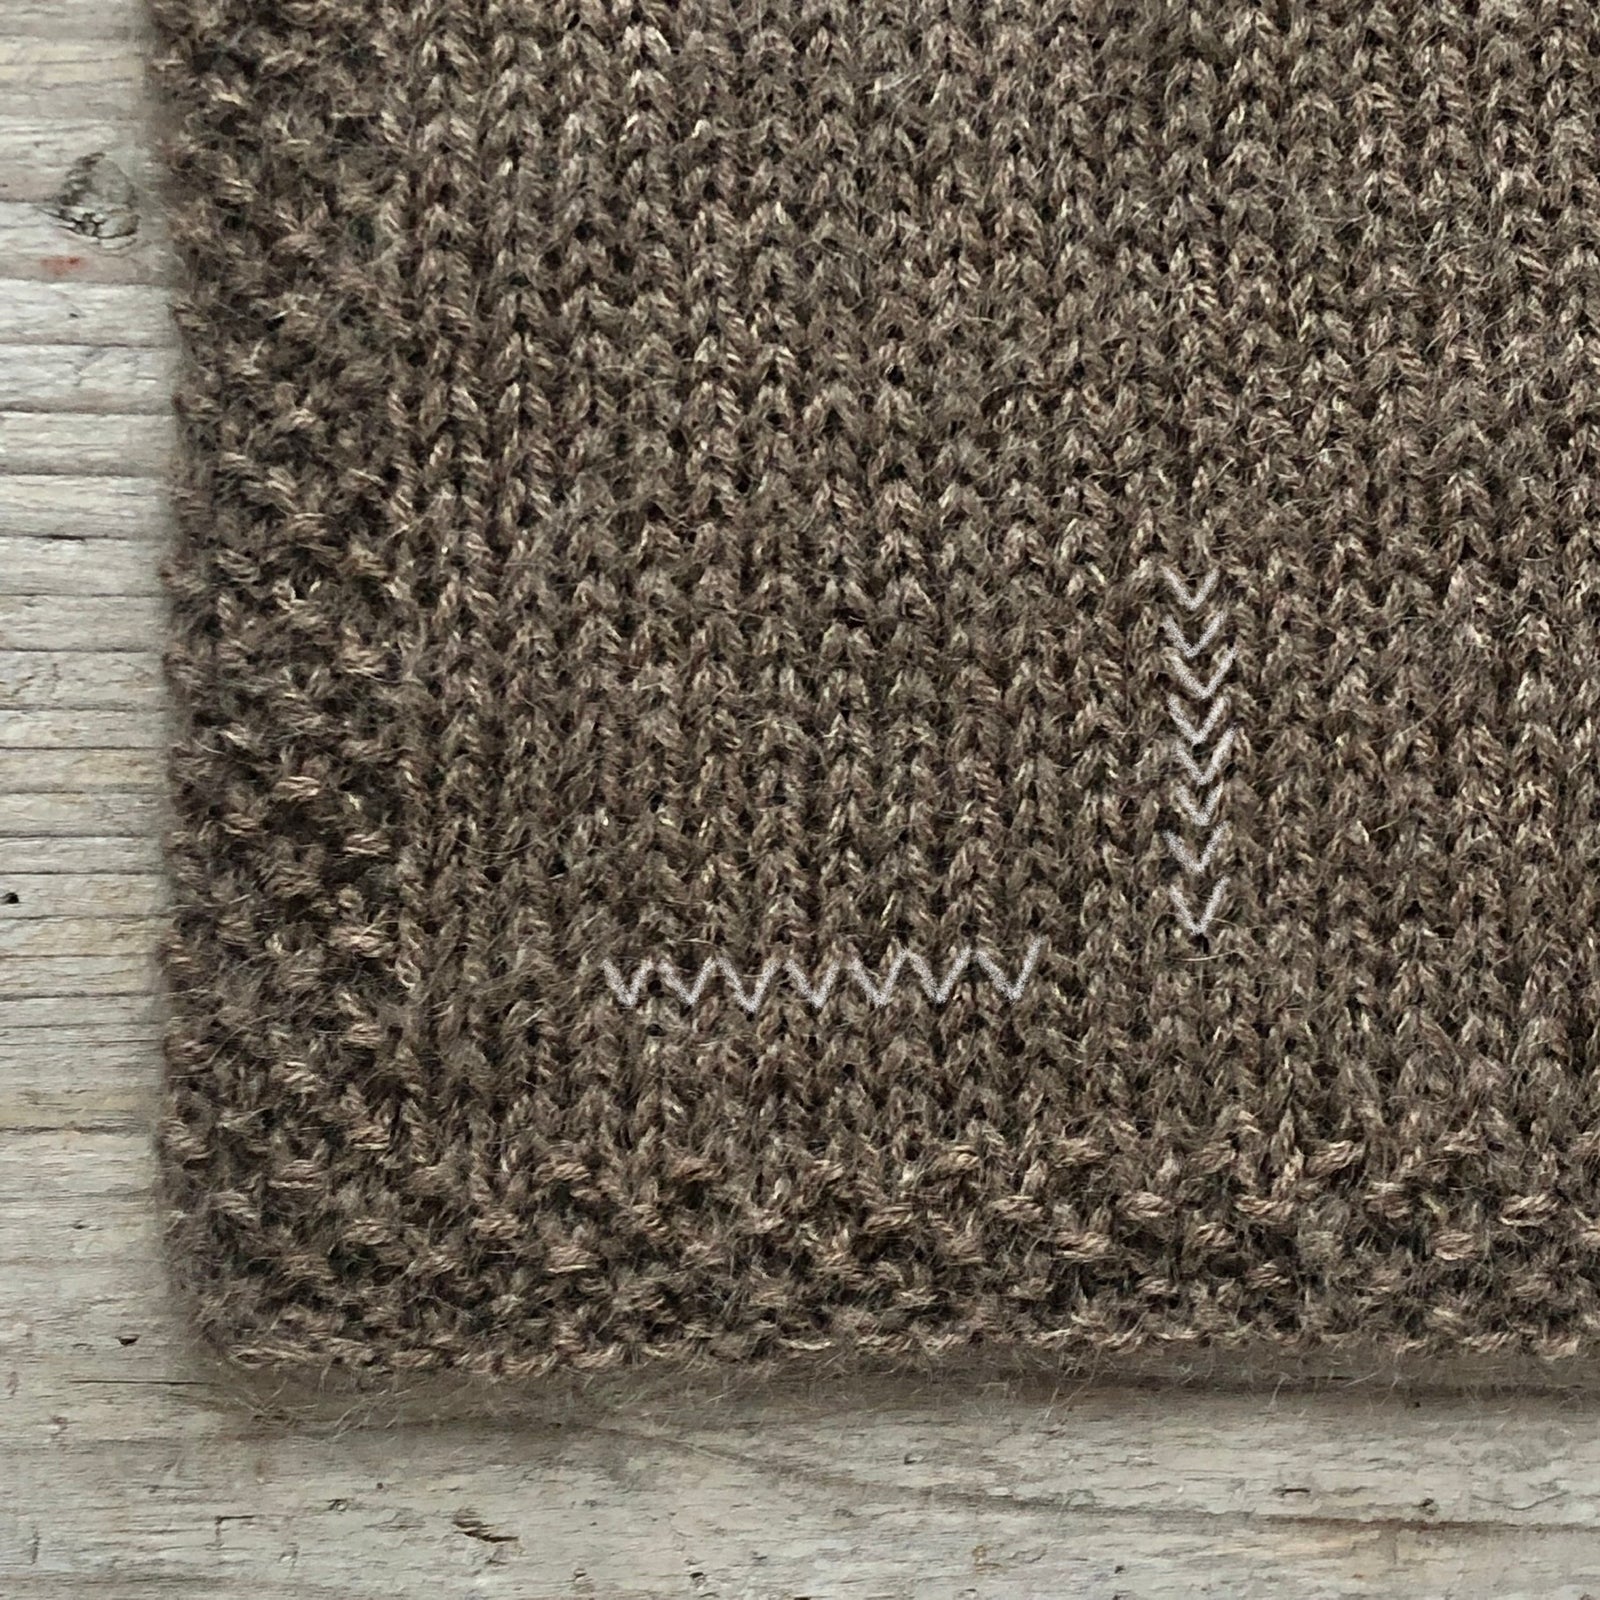
A stockinette stitch looks like a V from the right side (front side).
Looking at the picture of the swatch, I have made markings both horizontally and vertically.
The Vs marked vertically represent the number of rows, and the Vs marked horizontally represent the number of stitches.
This is an important and fundamental part of knitting – being able to count rows and stitches to determine the gauge. All patterns specify the gauge needed to achieve the correct size of the garment.
The gauge is usually given as the number of stitches and rows per 10 cm.
As an example, we can look at the pattern below:
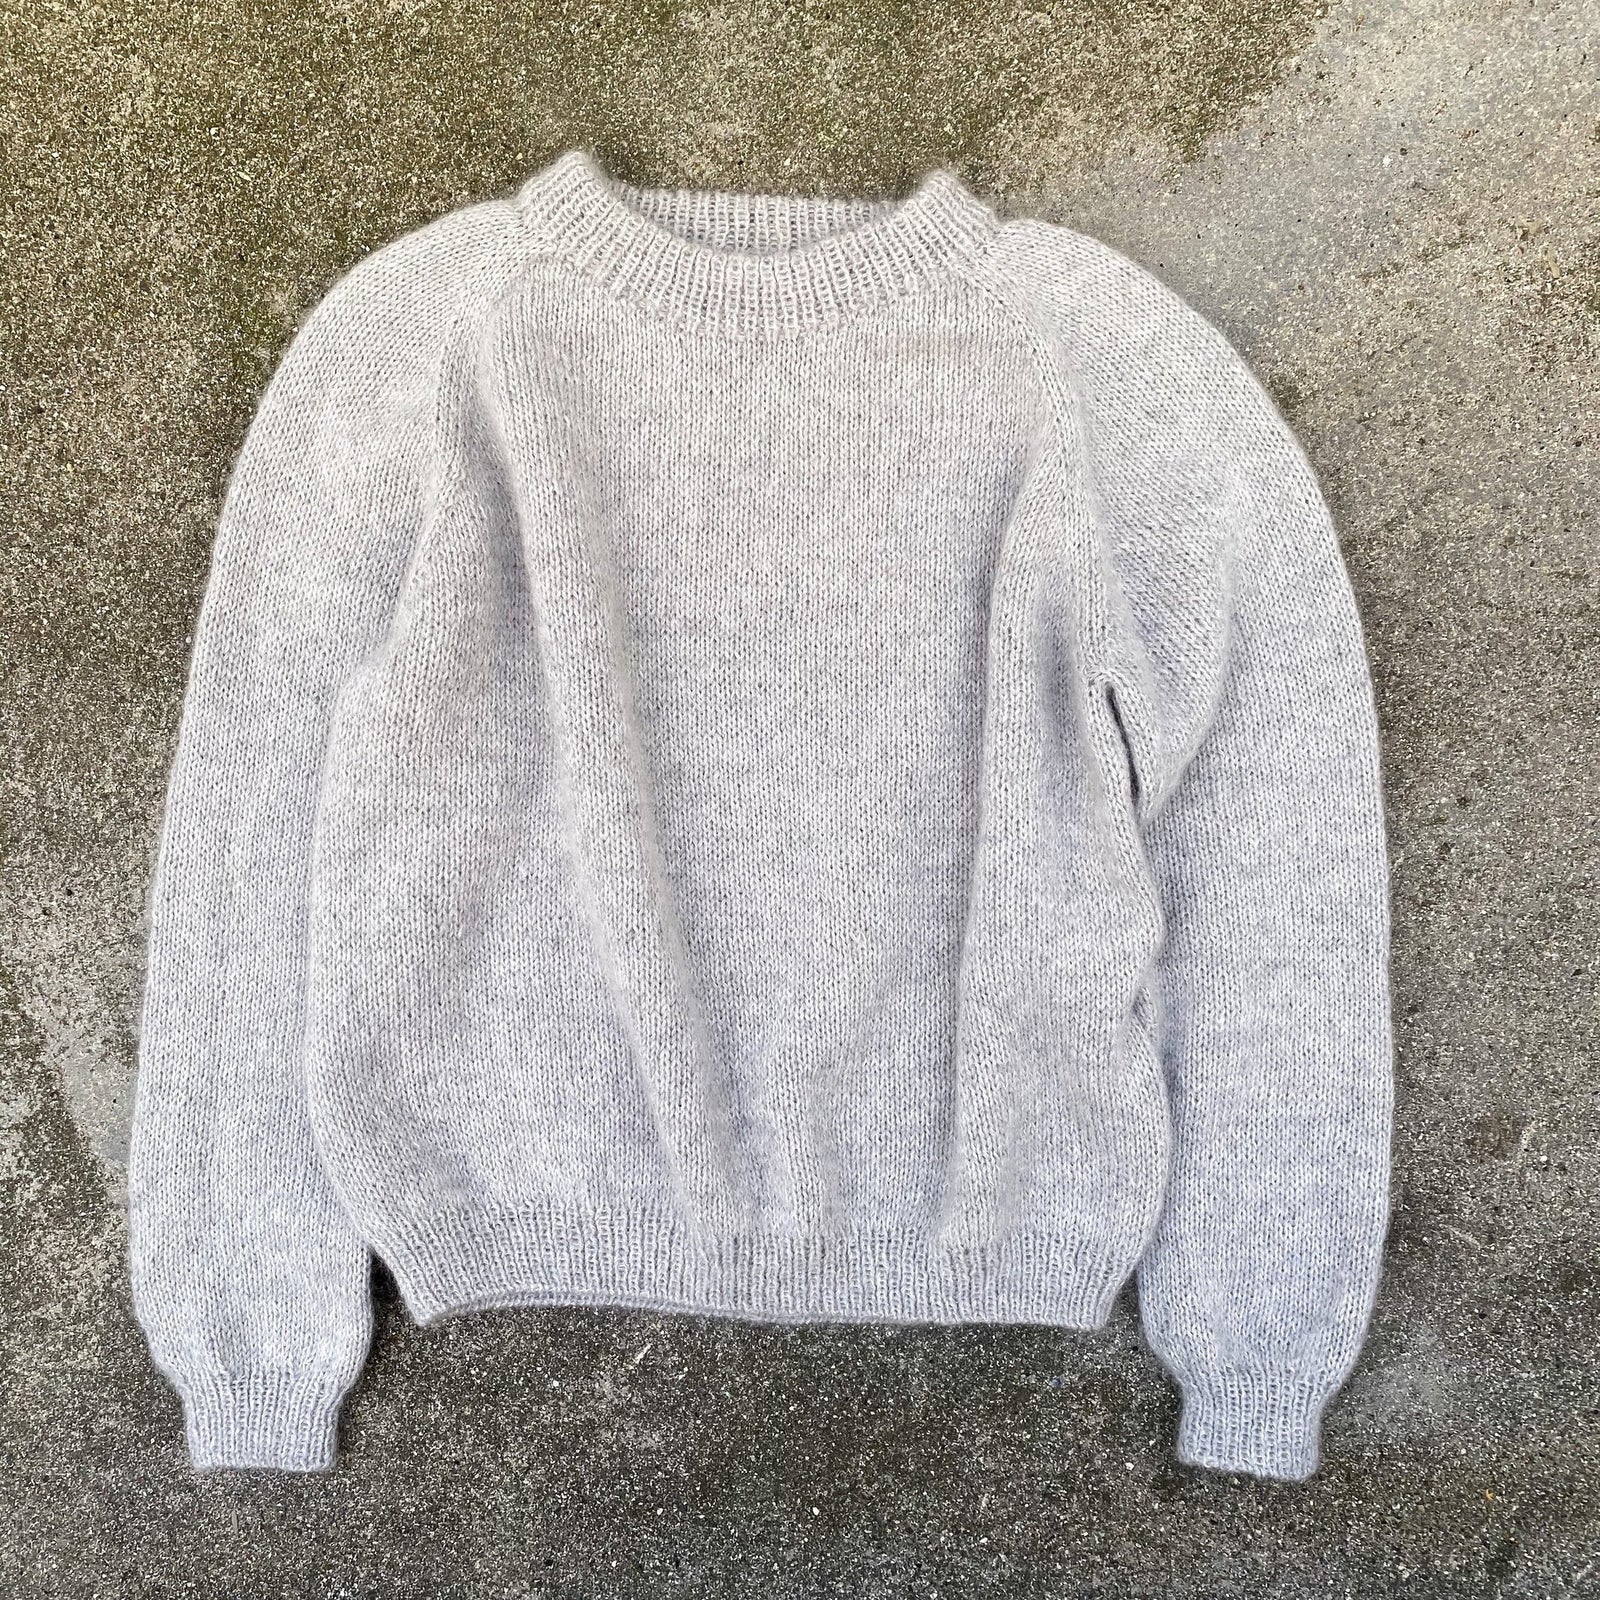
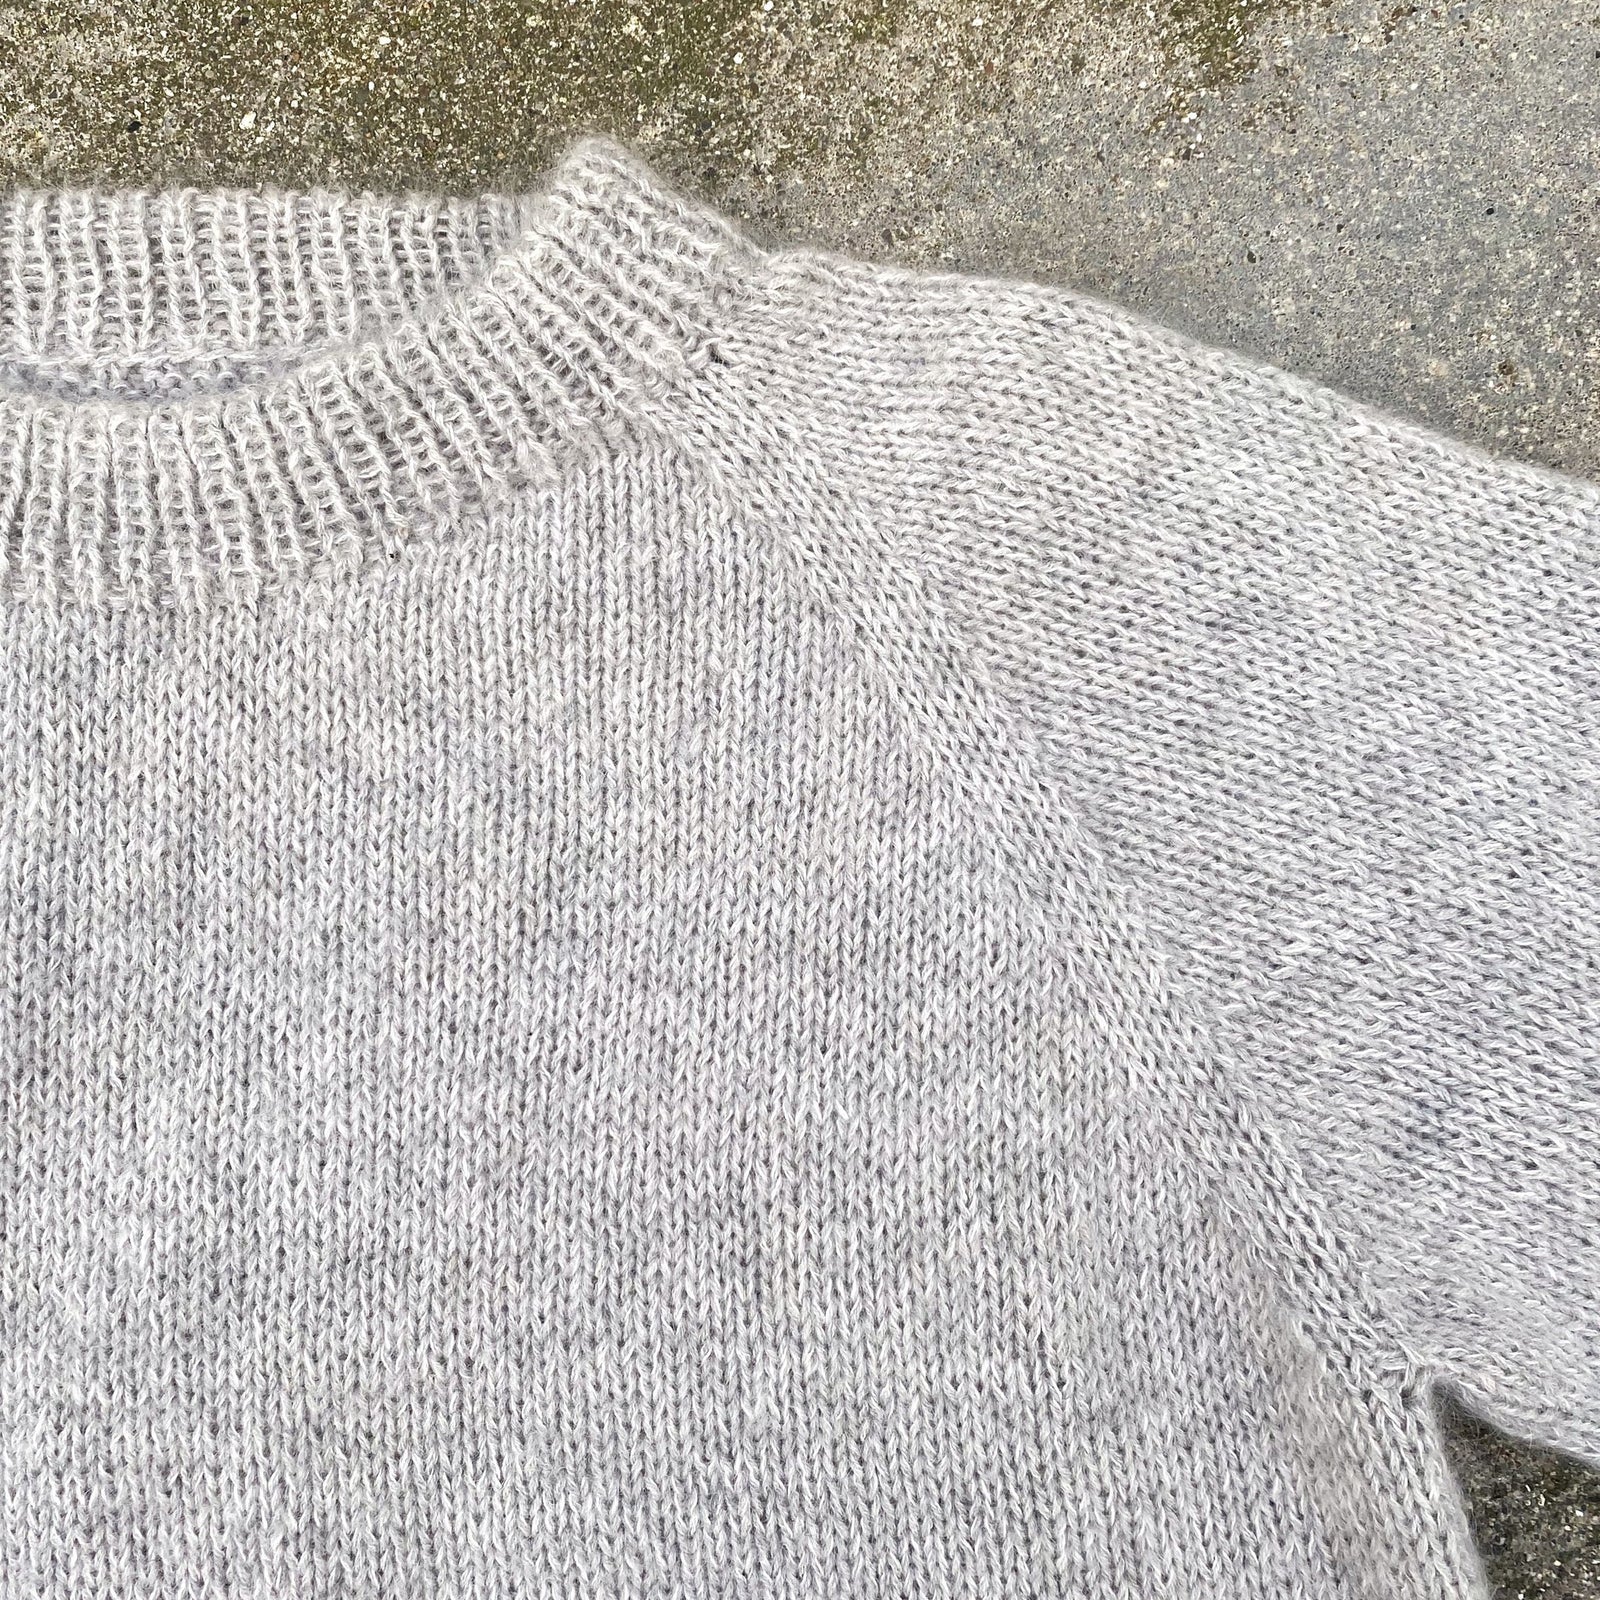
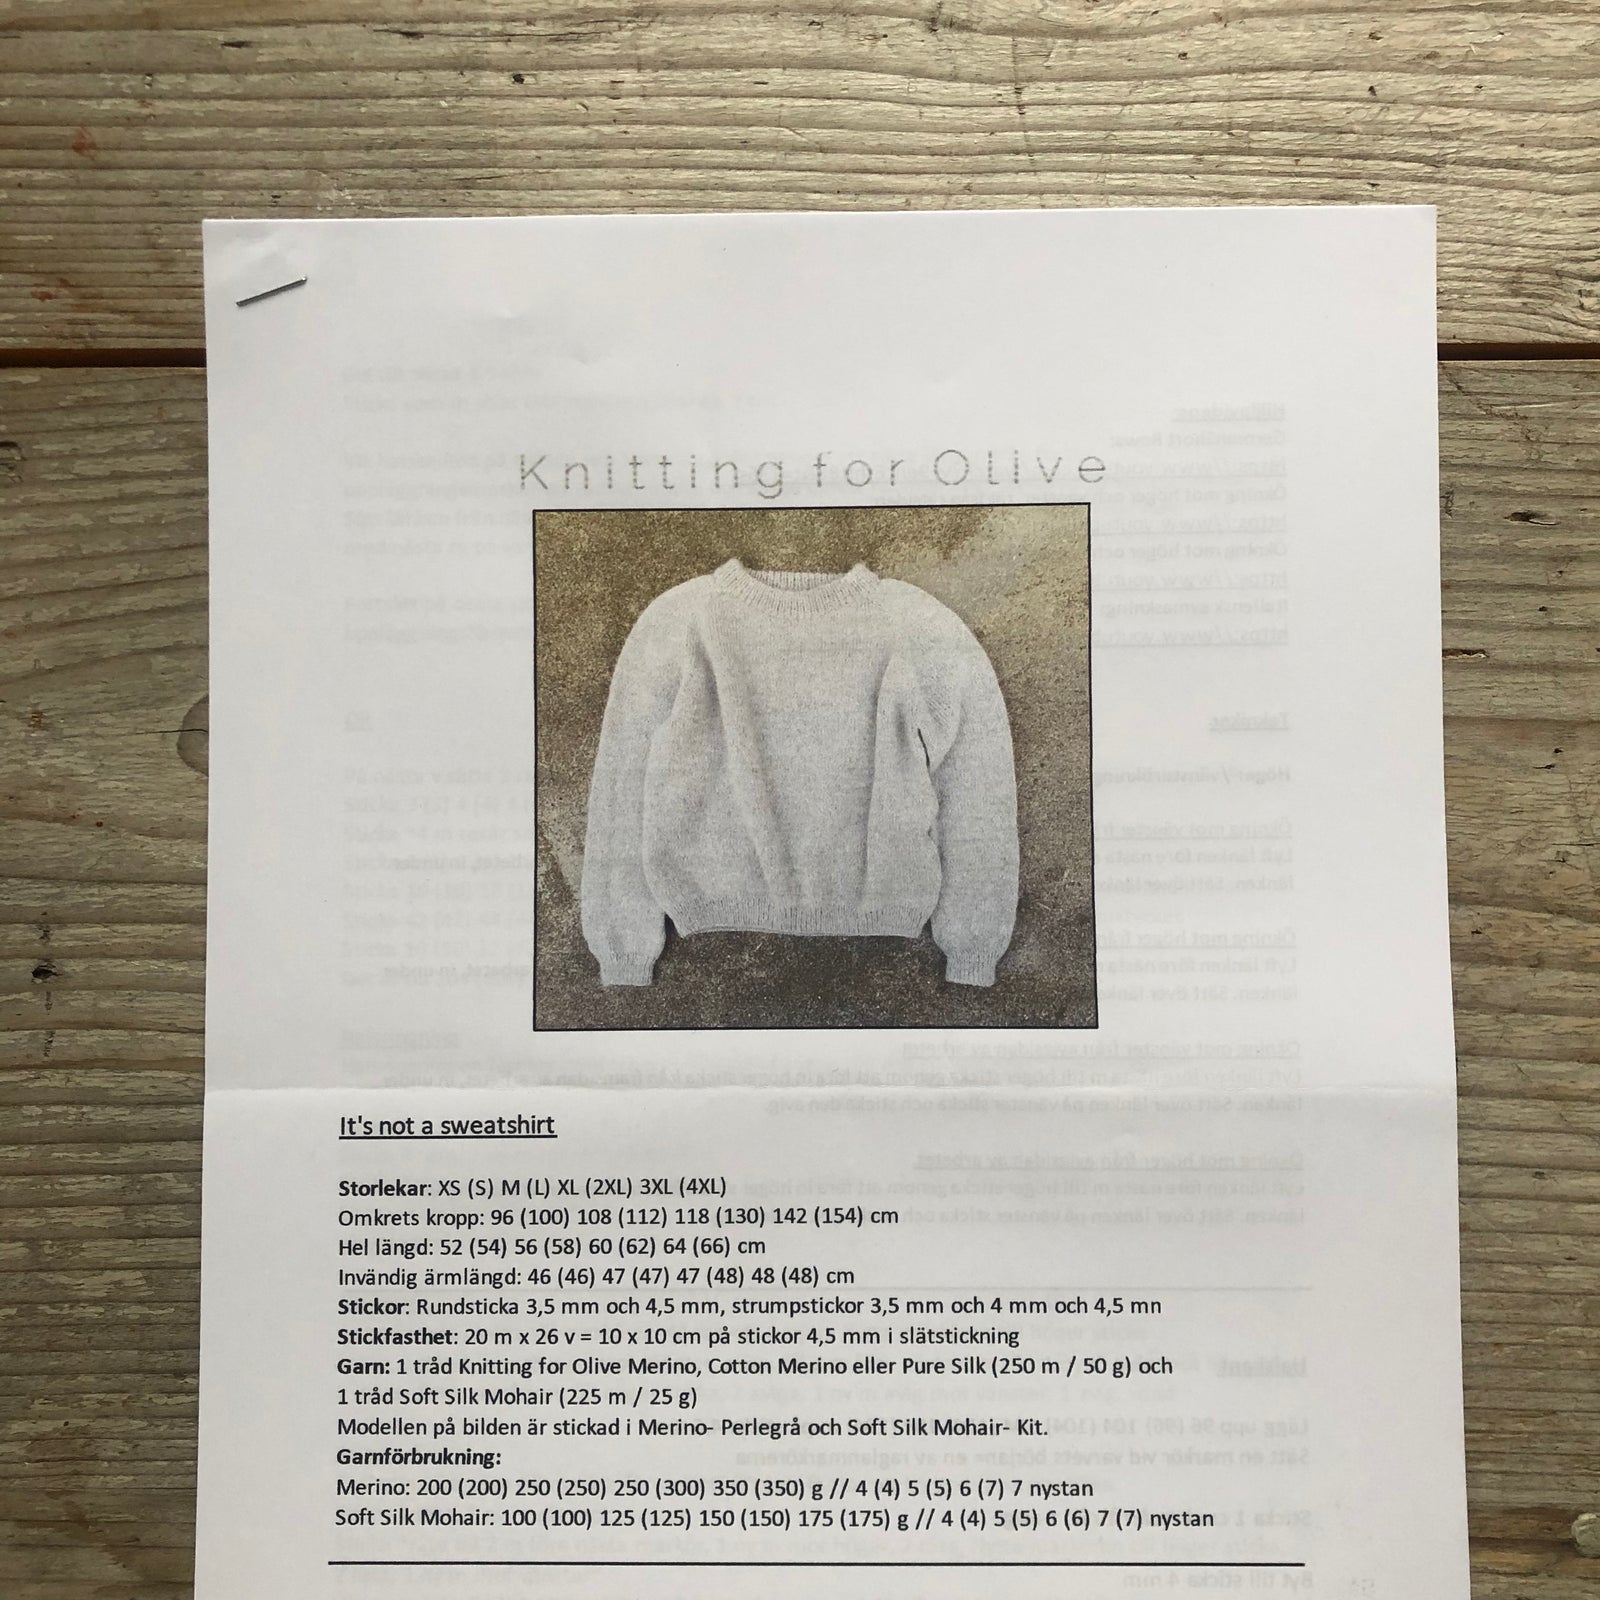
The gauge is given as 20 stitches x 26 rows on 4.5 mm needles in stockinette stitch. This means we measure a 10x10 cm square on the swatch. There is a fantastic tool for this that you place on top of the swatch, a gauge ruler. If you don't have one, you can measure with a tape measure or ruler.
Before measuring, we should wash the swatch in lukewarm water, squeeze it out thoroughly, and then lay it flat to dry. Wet blocking, as it is also called. This is so that the swatch behaves the same way as the finished garment when we have washed and dried it flat.
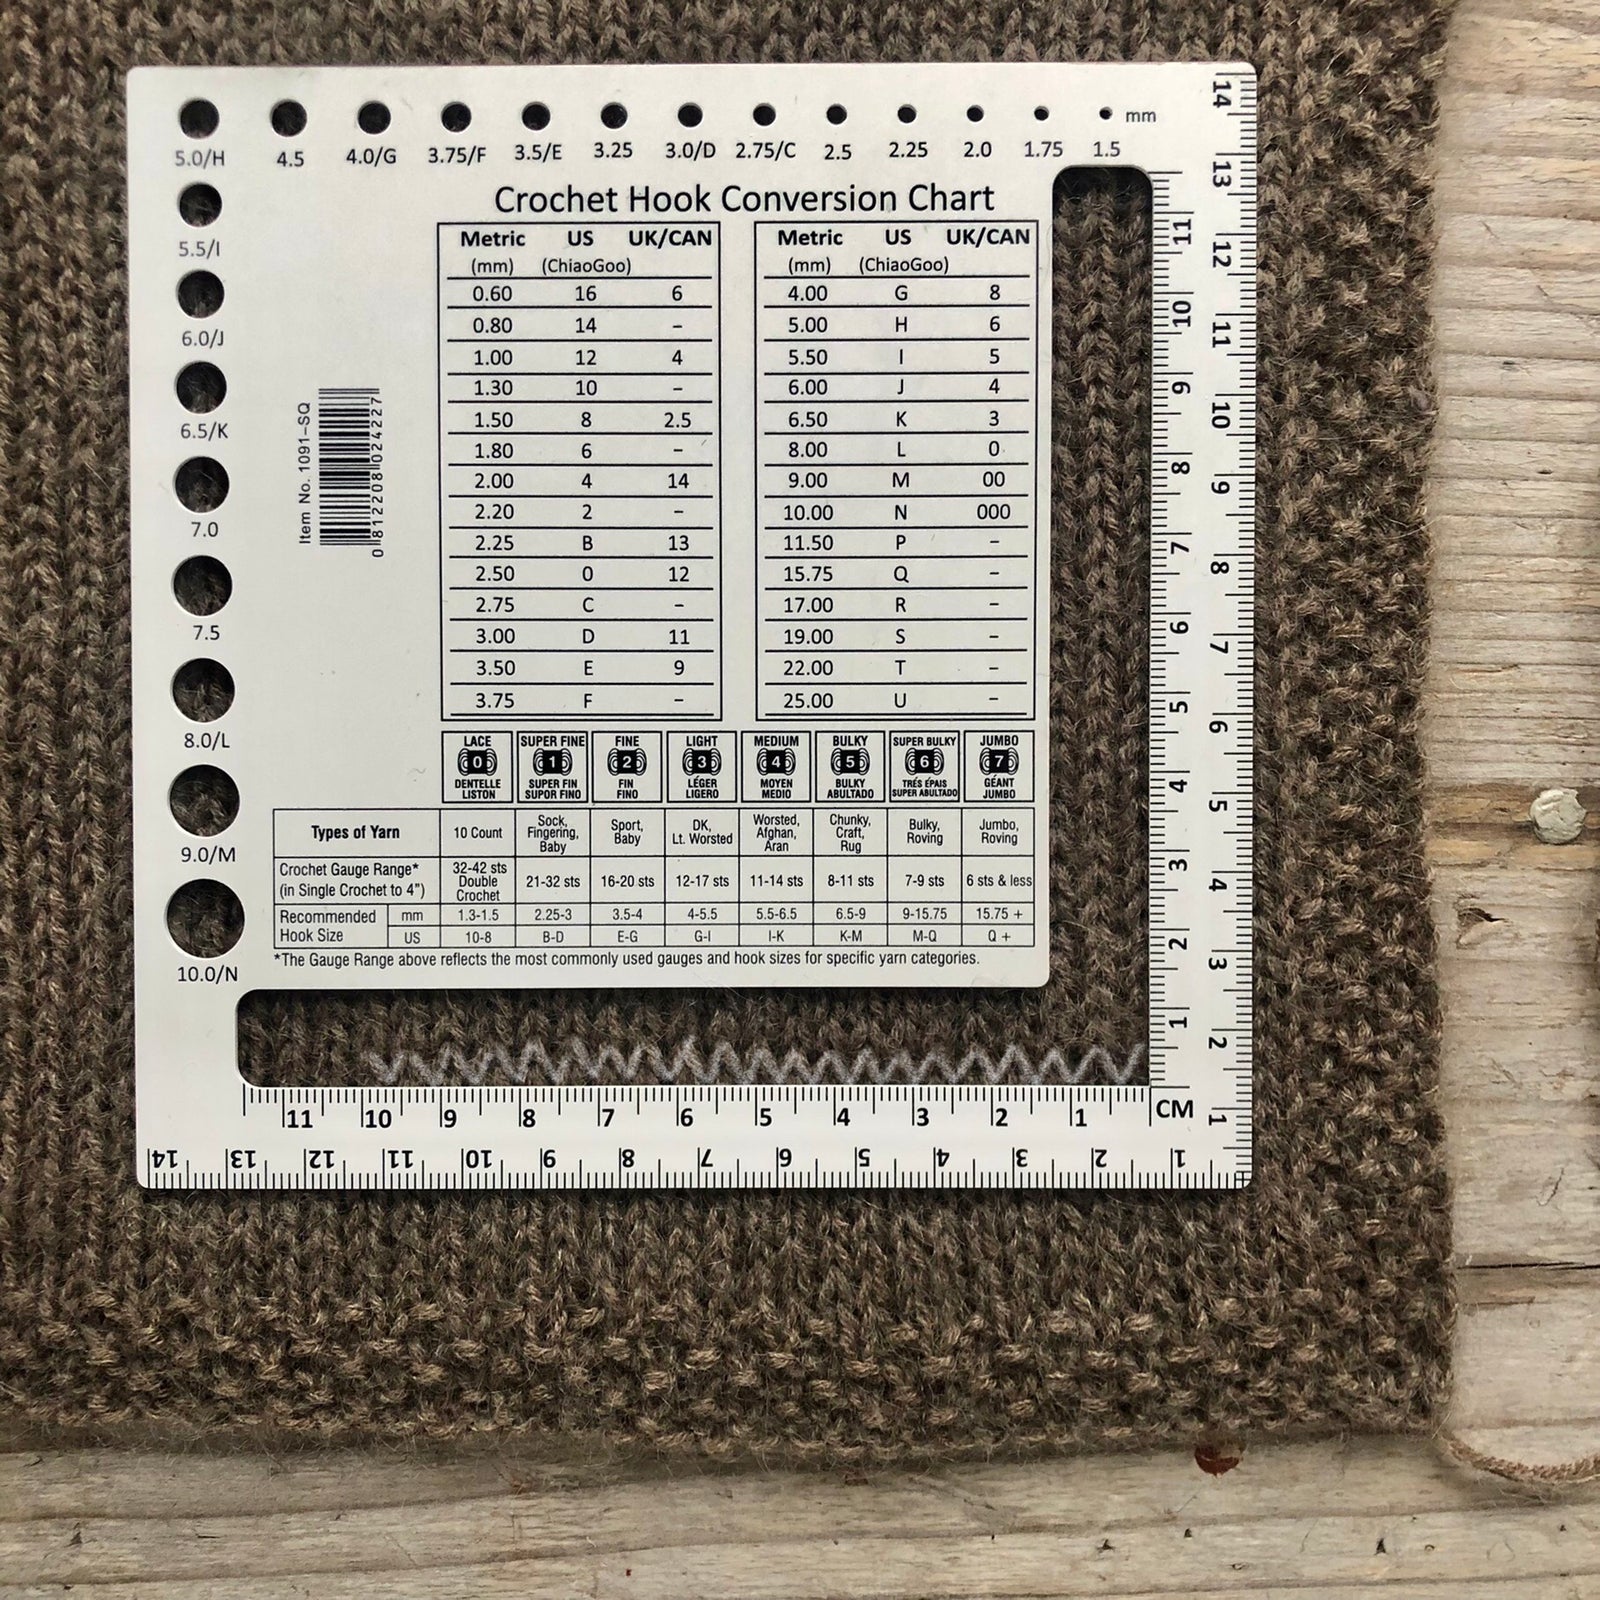
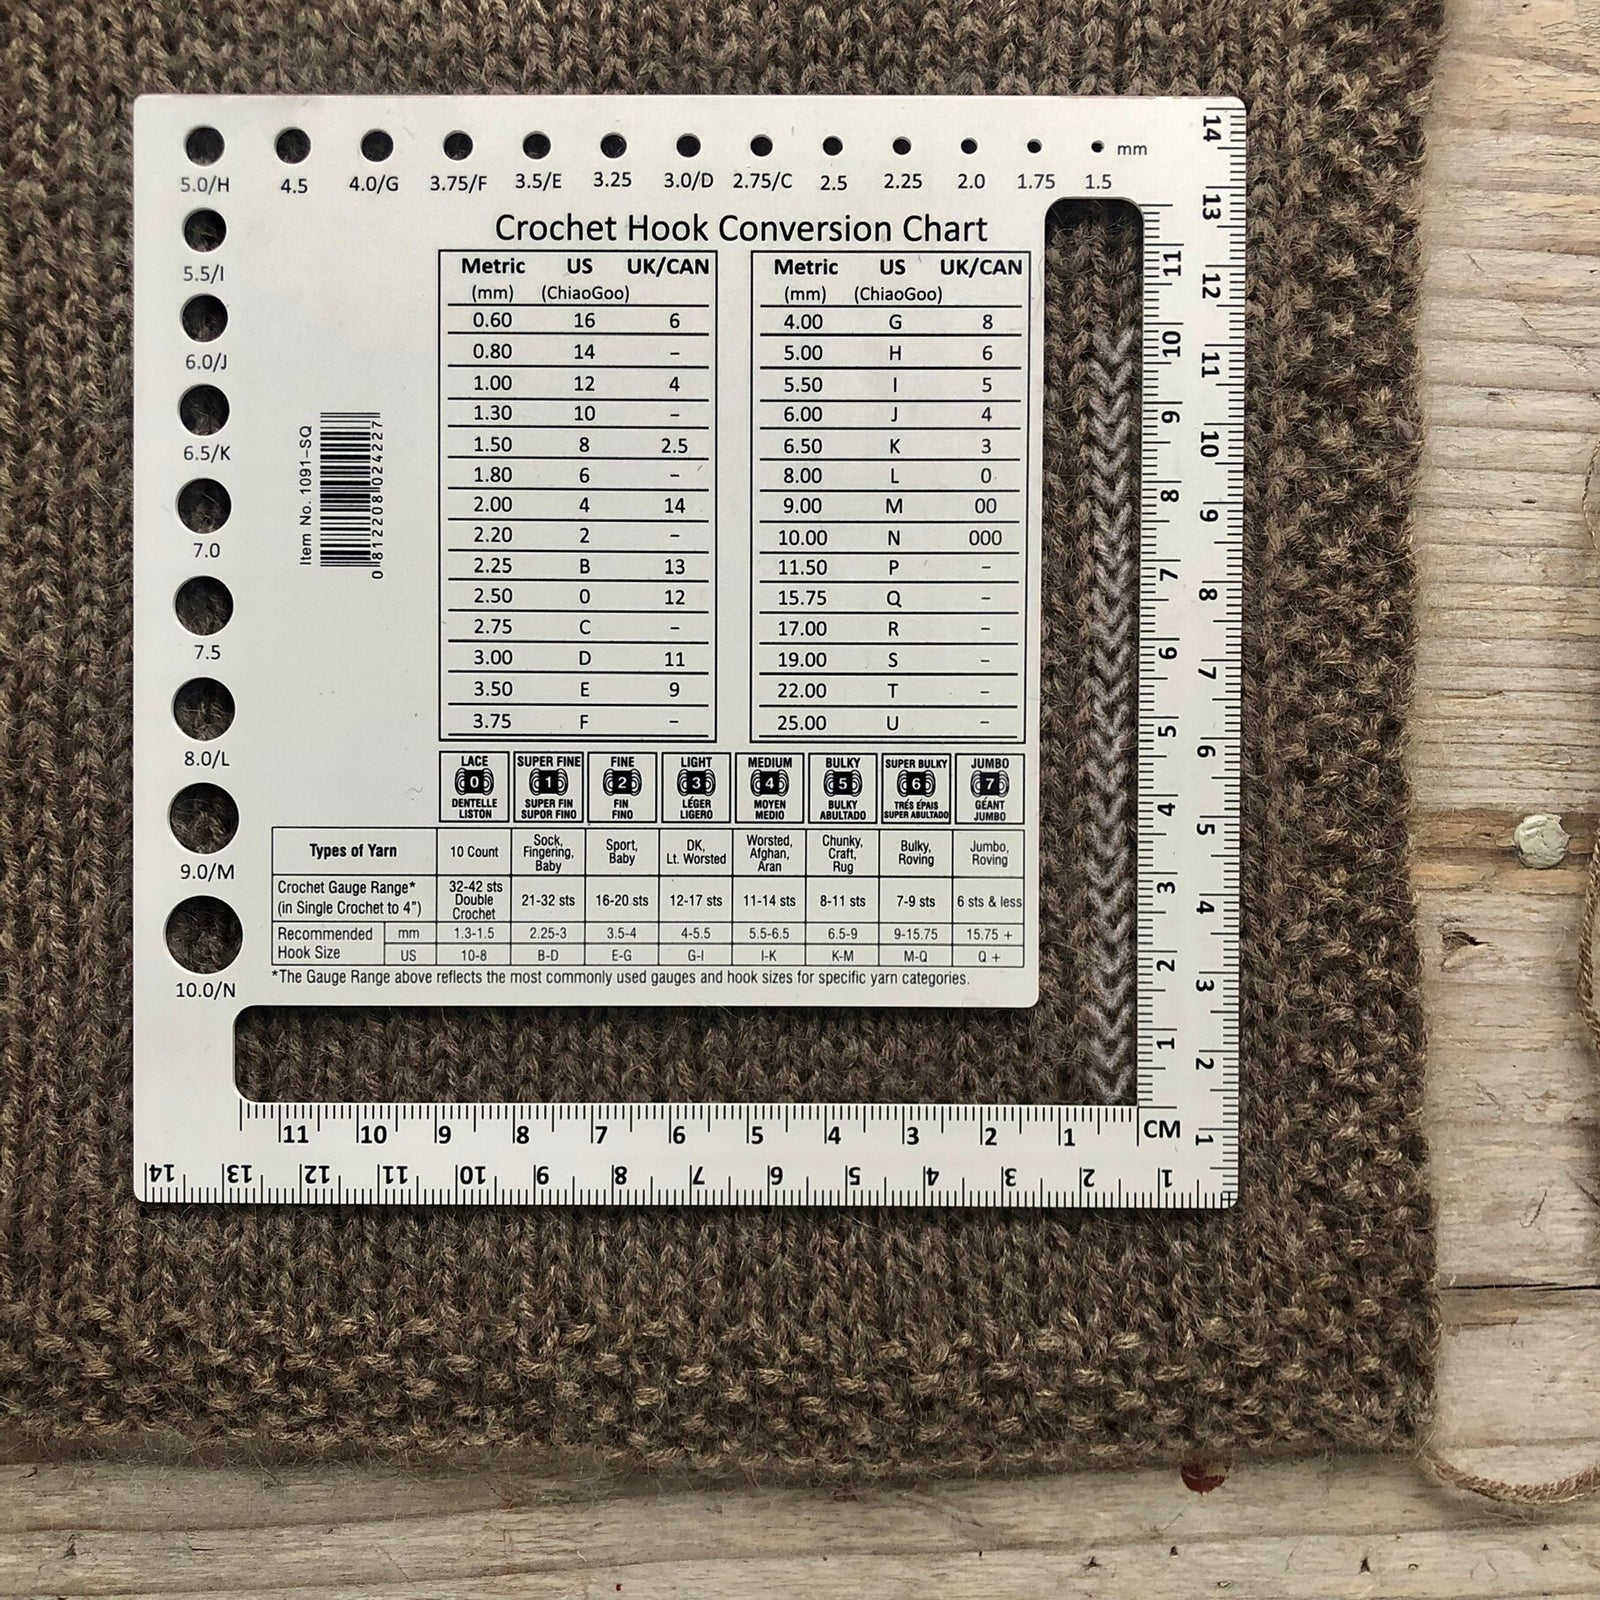
So.. Now that it has dried, we are ready to measure our swatch, that is, count how many stitches and rows there are in 10cm.
If it matches, you can just cast on and start knitting, but if it doesn't match, you need to knit a new swatch with either thicker or thinner needles until you get the correct gauge.
TIP: Take a photo with your phone and use the drawing tool to mark the stitches, as I have done above and also in the first picture.
If it doesn't match and, for example, you have too many stitches and rows, you need to use thicker needles, and if you have too few stitches and rows, use thinner needles.
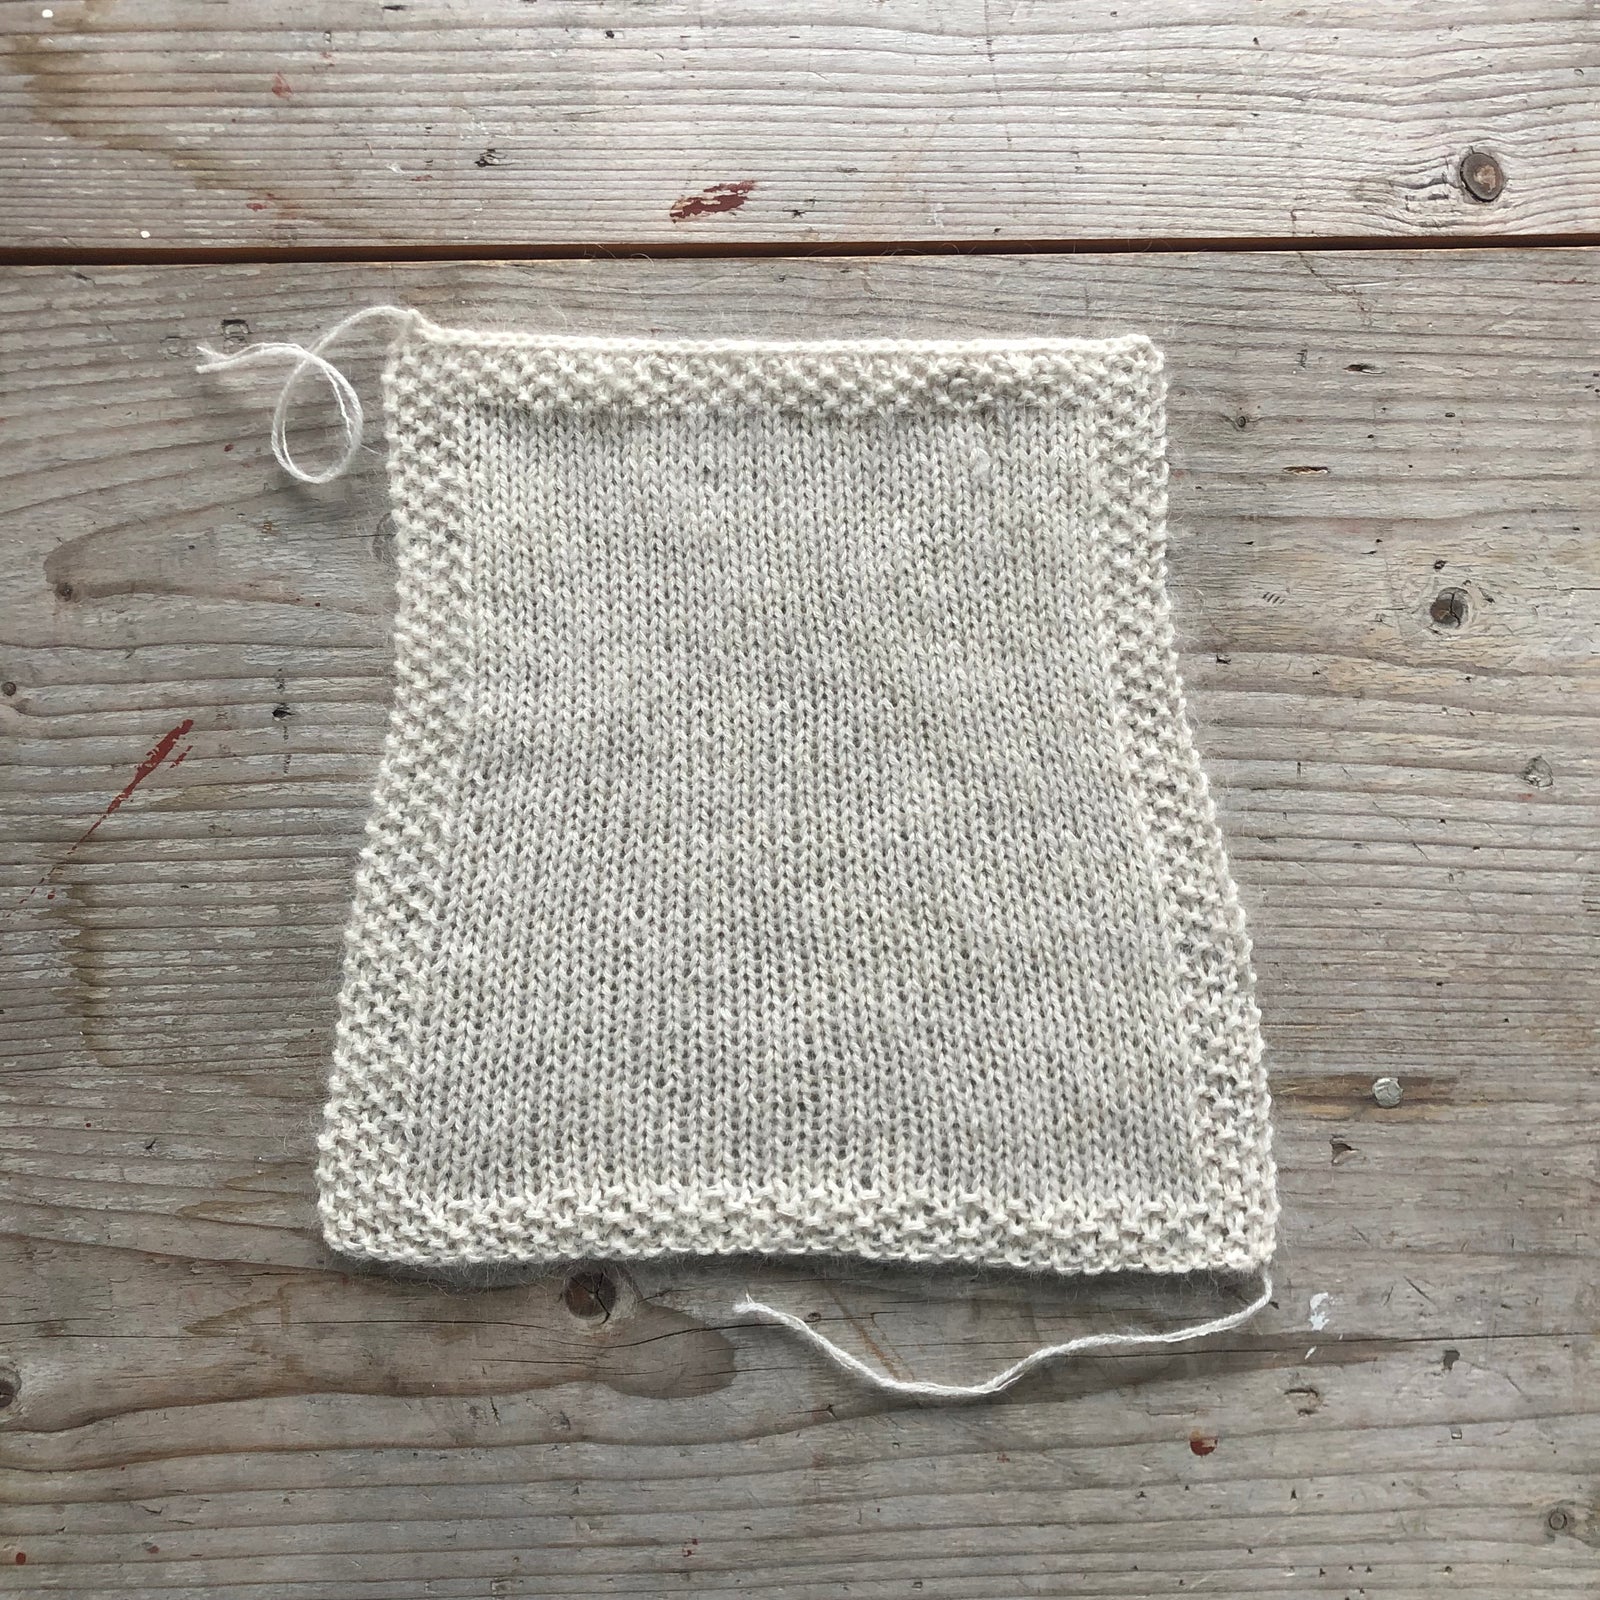
Changing just half a needle size can make quite a difference. On the white swatch here, I started knitting at the bottom with 4.5 mm needles and after about halfway switched to 4 mm needles.
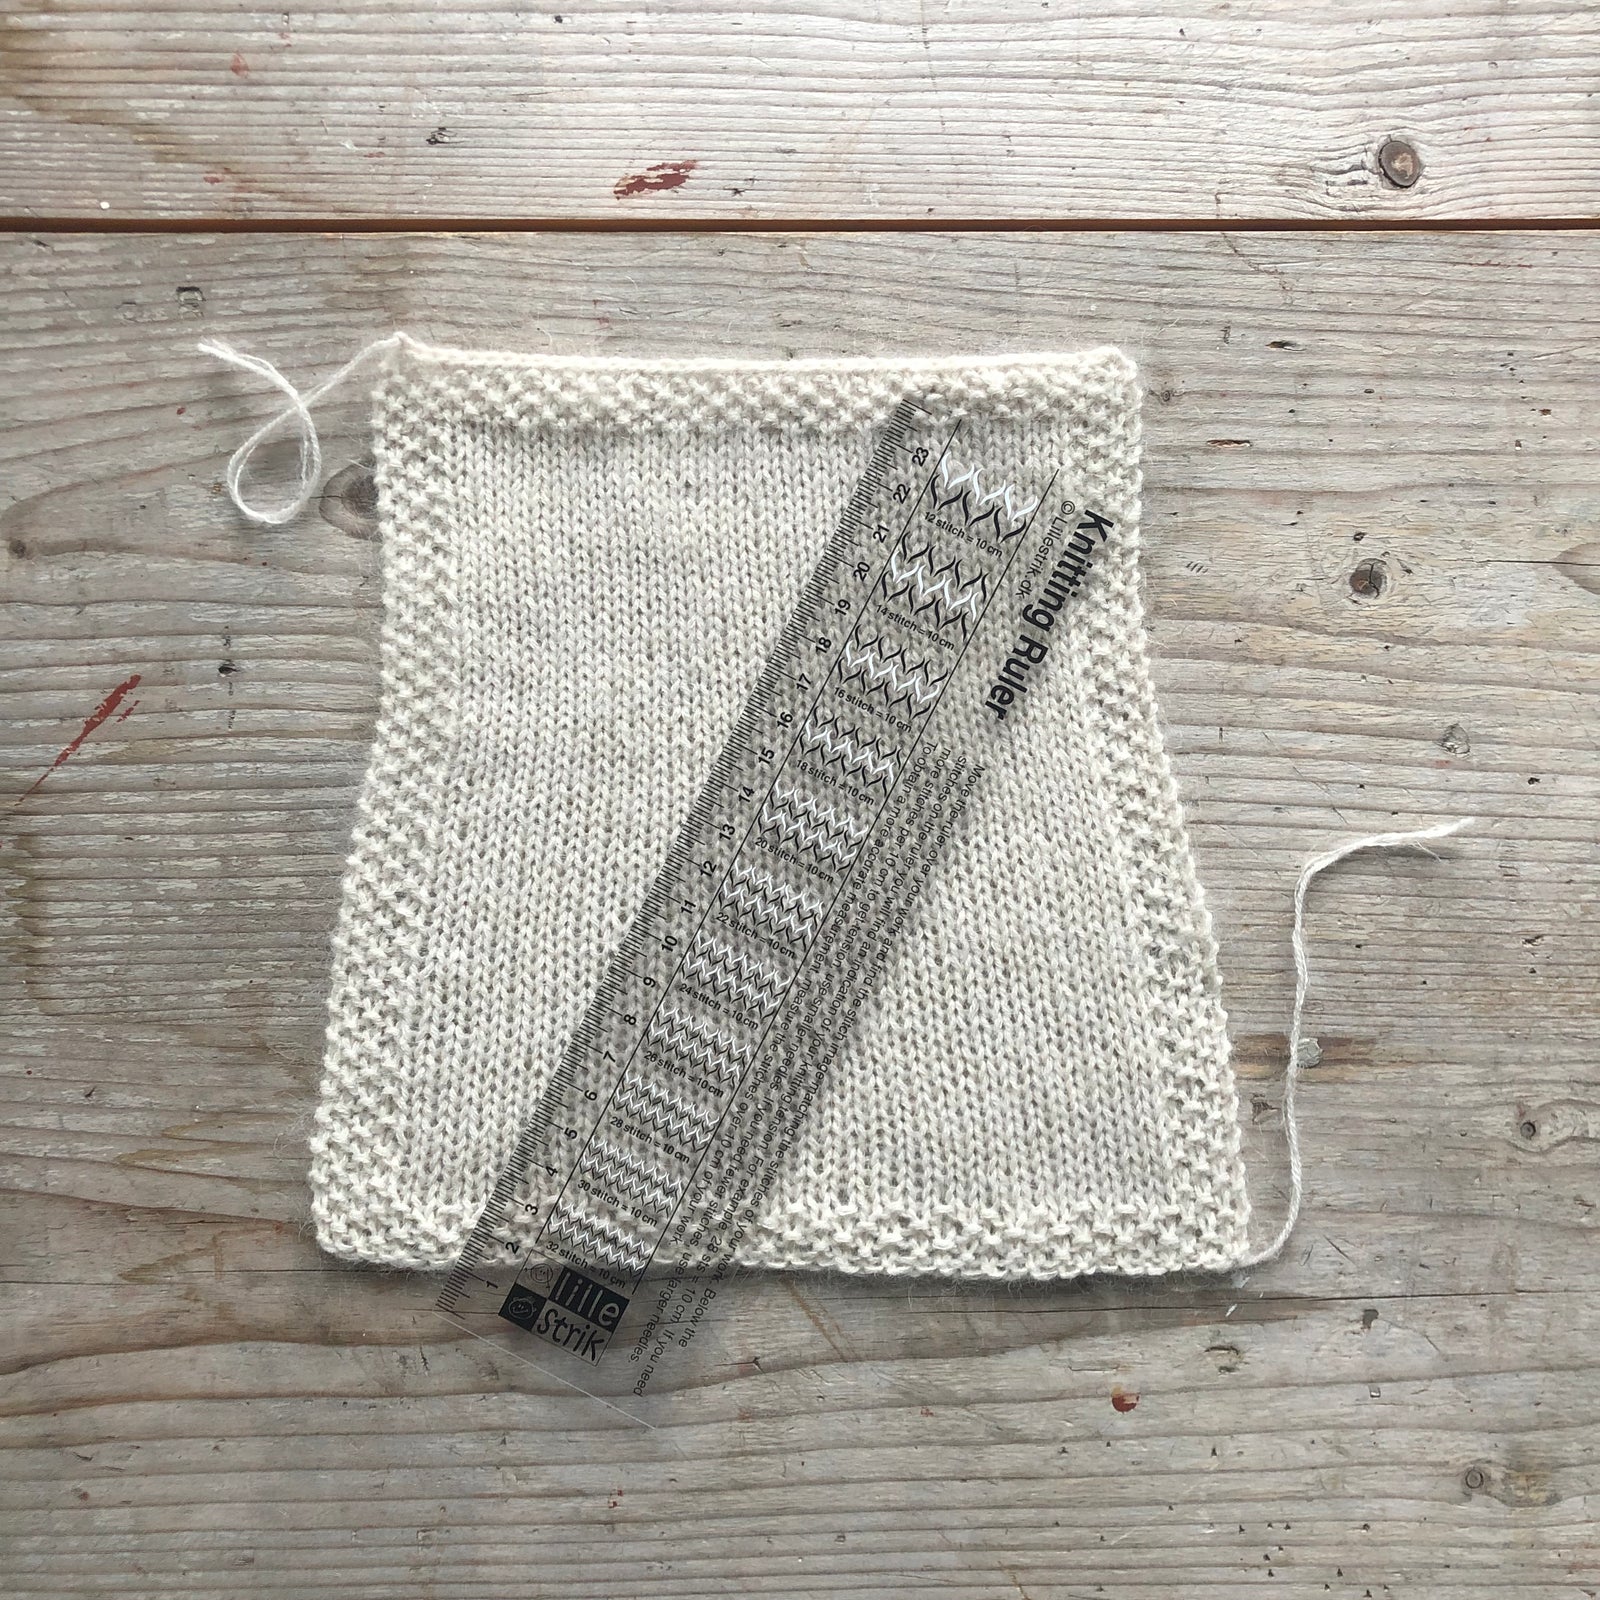
The stitch density here I have measured with a clever gadget - the Stitch Gauge. A transparent ruler with stitch density printed on it in the form of stockinette stitches, so you just place it on the knitting and see the stitch density when it matches the printed stitches. The stitches are marked in both black and white so that regardless of the color of the knitting, you get enough contrast to see the gauge on top of the stitches.
The white swatch has a stitch density of 20 stitches at the bottom and a density of 22 stitches at the top.
Look at the pictures to see how easy it works.
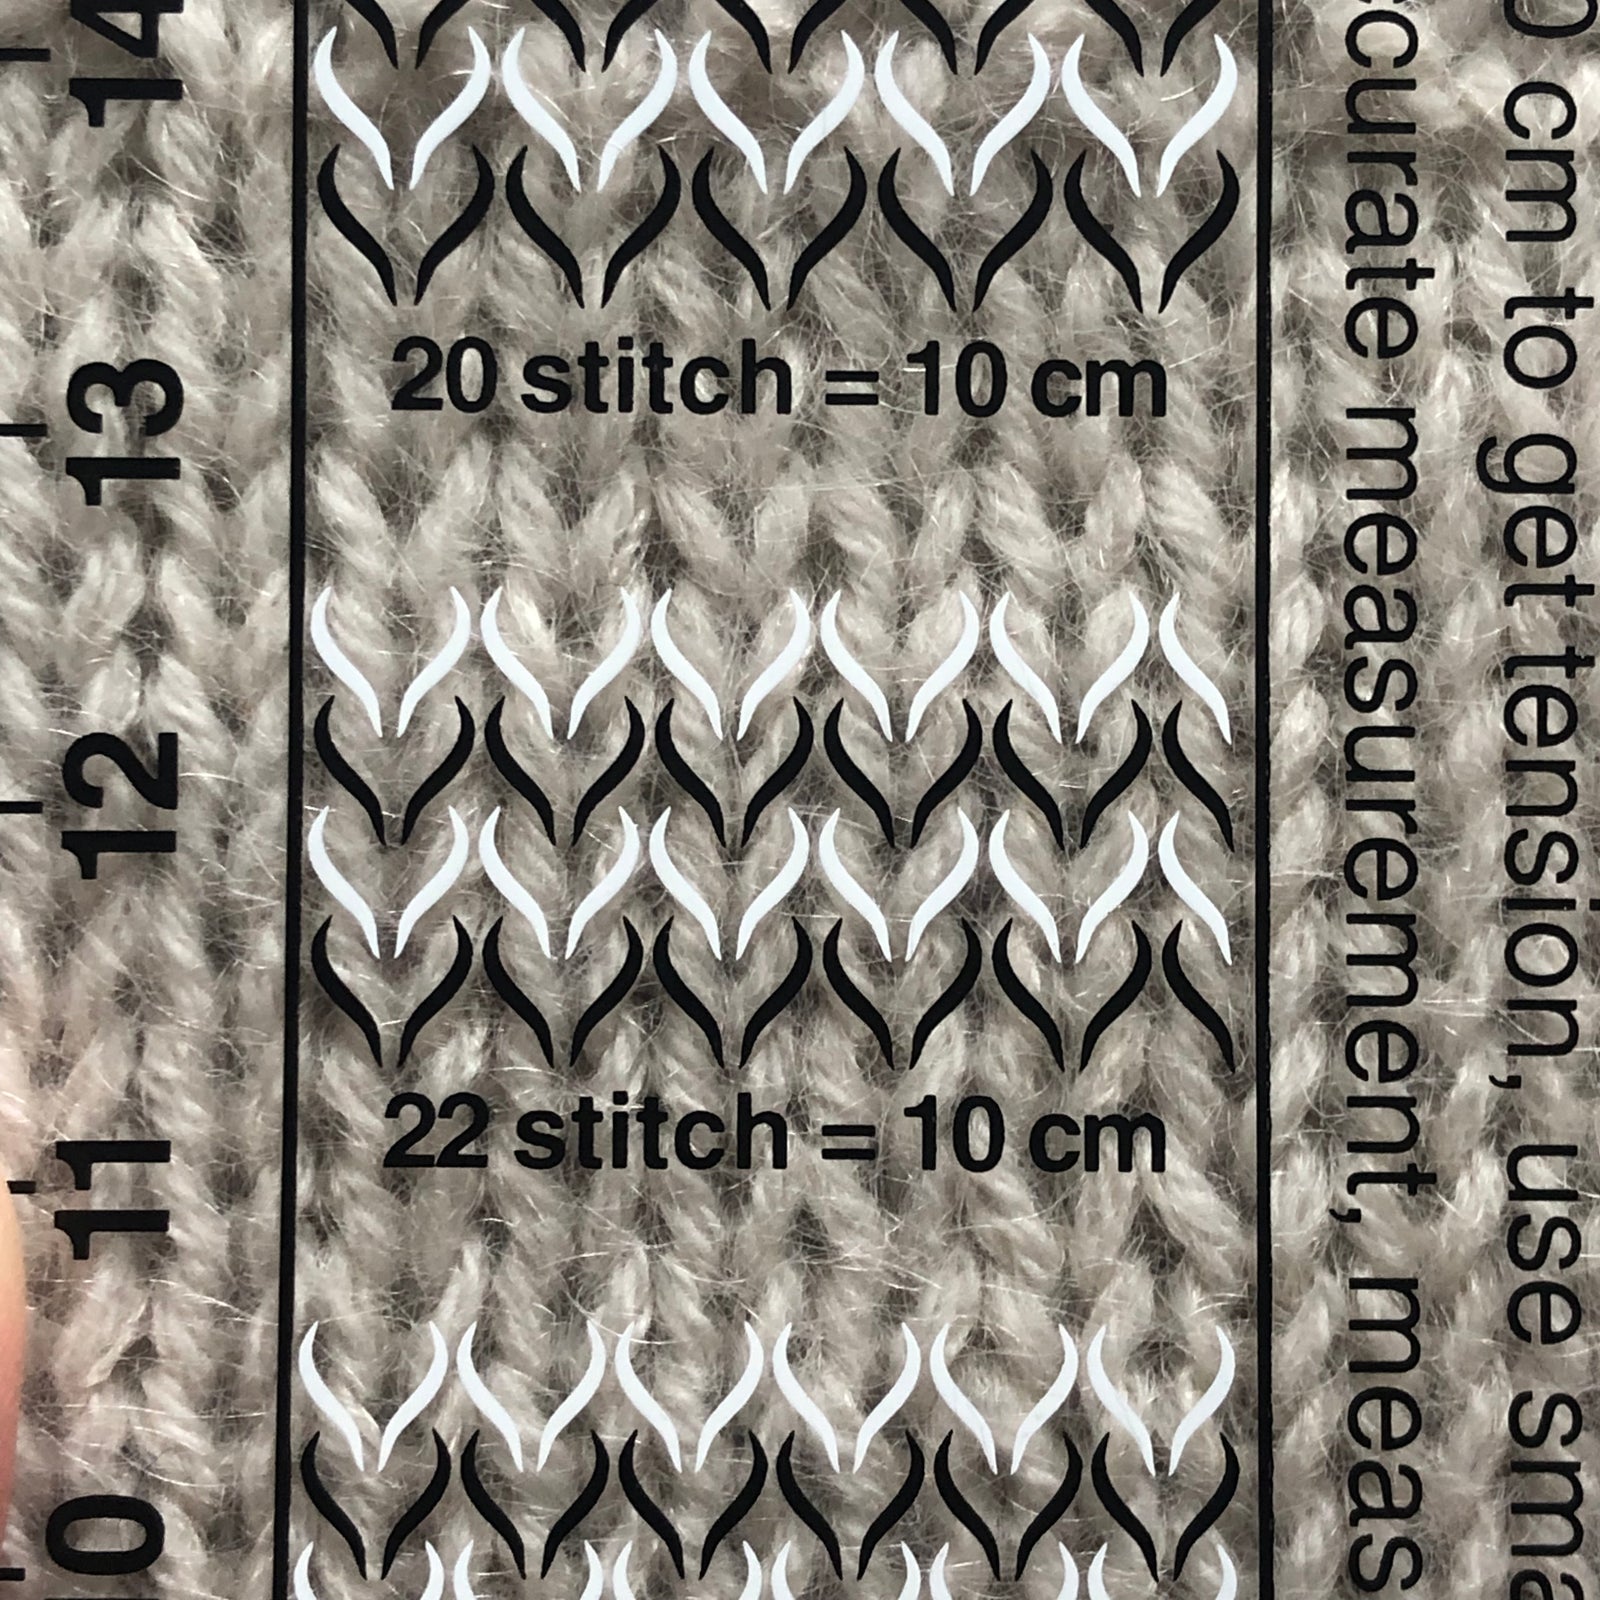
It only has an even number of stitches from 12 - 32, so if you want a stitch gauge of, for example, 21 stitches, you have to estimate between 20 and 22.
The stitch gauge ruler does not measure the rows through its printed stitches, so there is a ruler on the side of it. Therefore, I have switched to saying stitch gauge instead of knitting tension, where we also count the rows.
Measuring knitting tension, that is both stitches and rows, is recommended especially if you are going to knit a larger project, such as a sweater.
It's not so fun when it doesn't match… ask me…
I learned this the hard way by knitting a sweater WITHOUT making a swatch; it became a tent and is now unraveled and so far not re-knitted.
So nowadays I always knit a swatch before larger projects.
Hugs / Pernilla